If you recently purchased a Sigineer Power inverter and wanted to use the wifi module you will quickly be discouraged to find that not only does it require a cloud server but it also requires a shady Chinese app, called PVbutler, that has been flagged by google as spyware. Of course if you value your security and privacy you will not install the app and will search for another way. Fortunately, like with most Chinese software there is an easy work around that will allow you to configure the wifi and set a custom logging server without ever installing the PVbutler app!
1) Press and hold the KEY
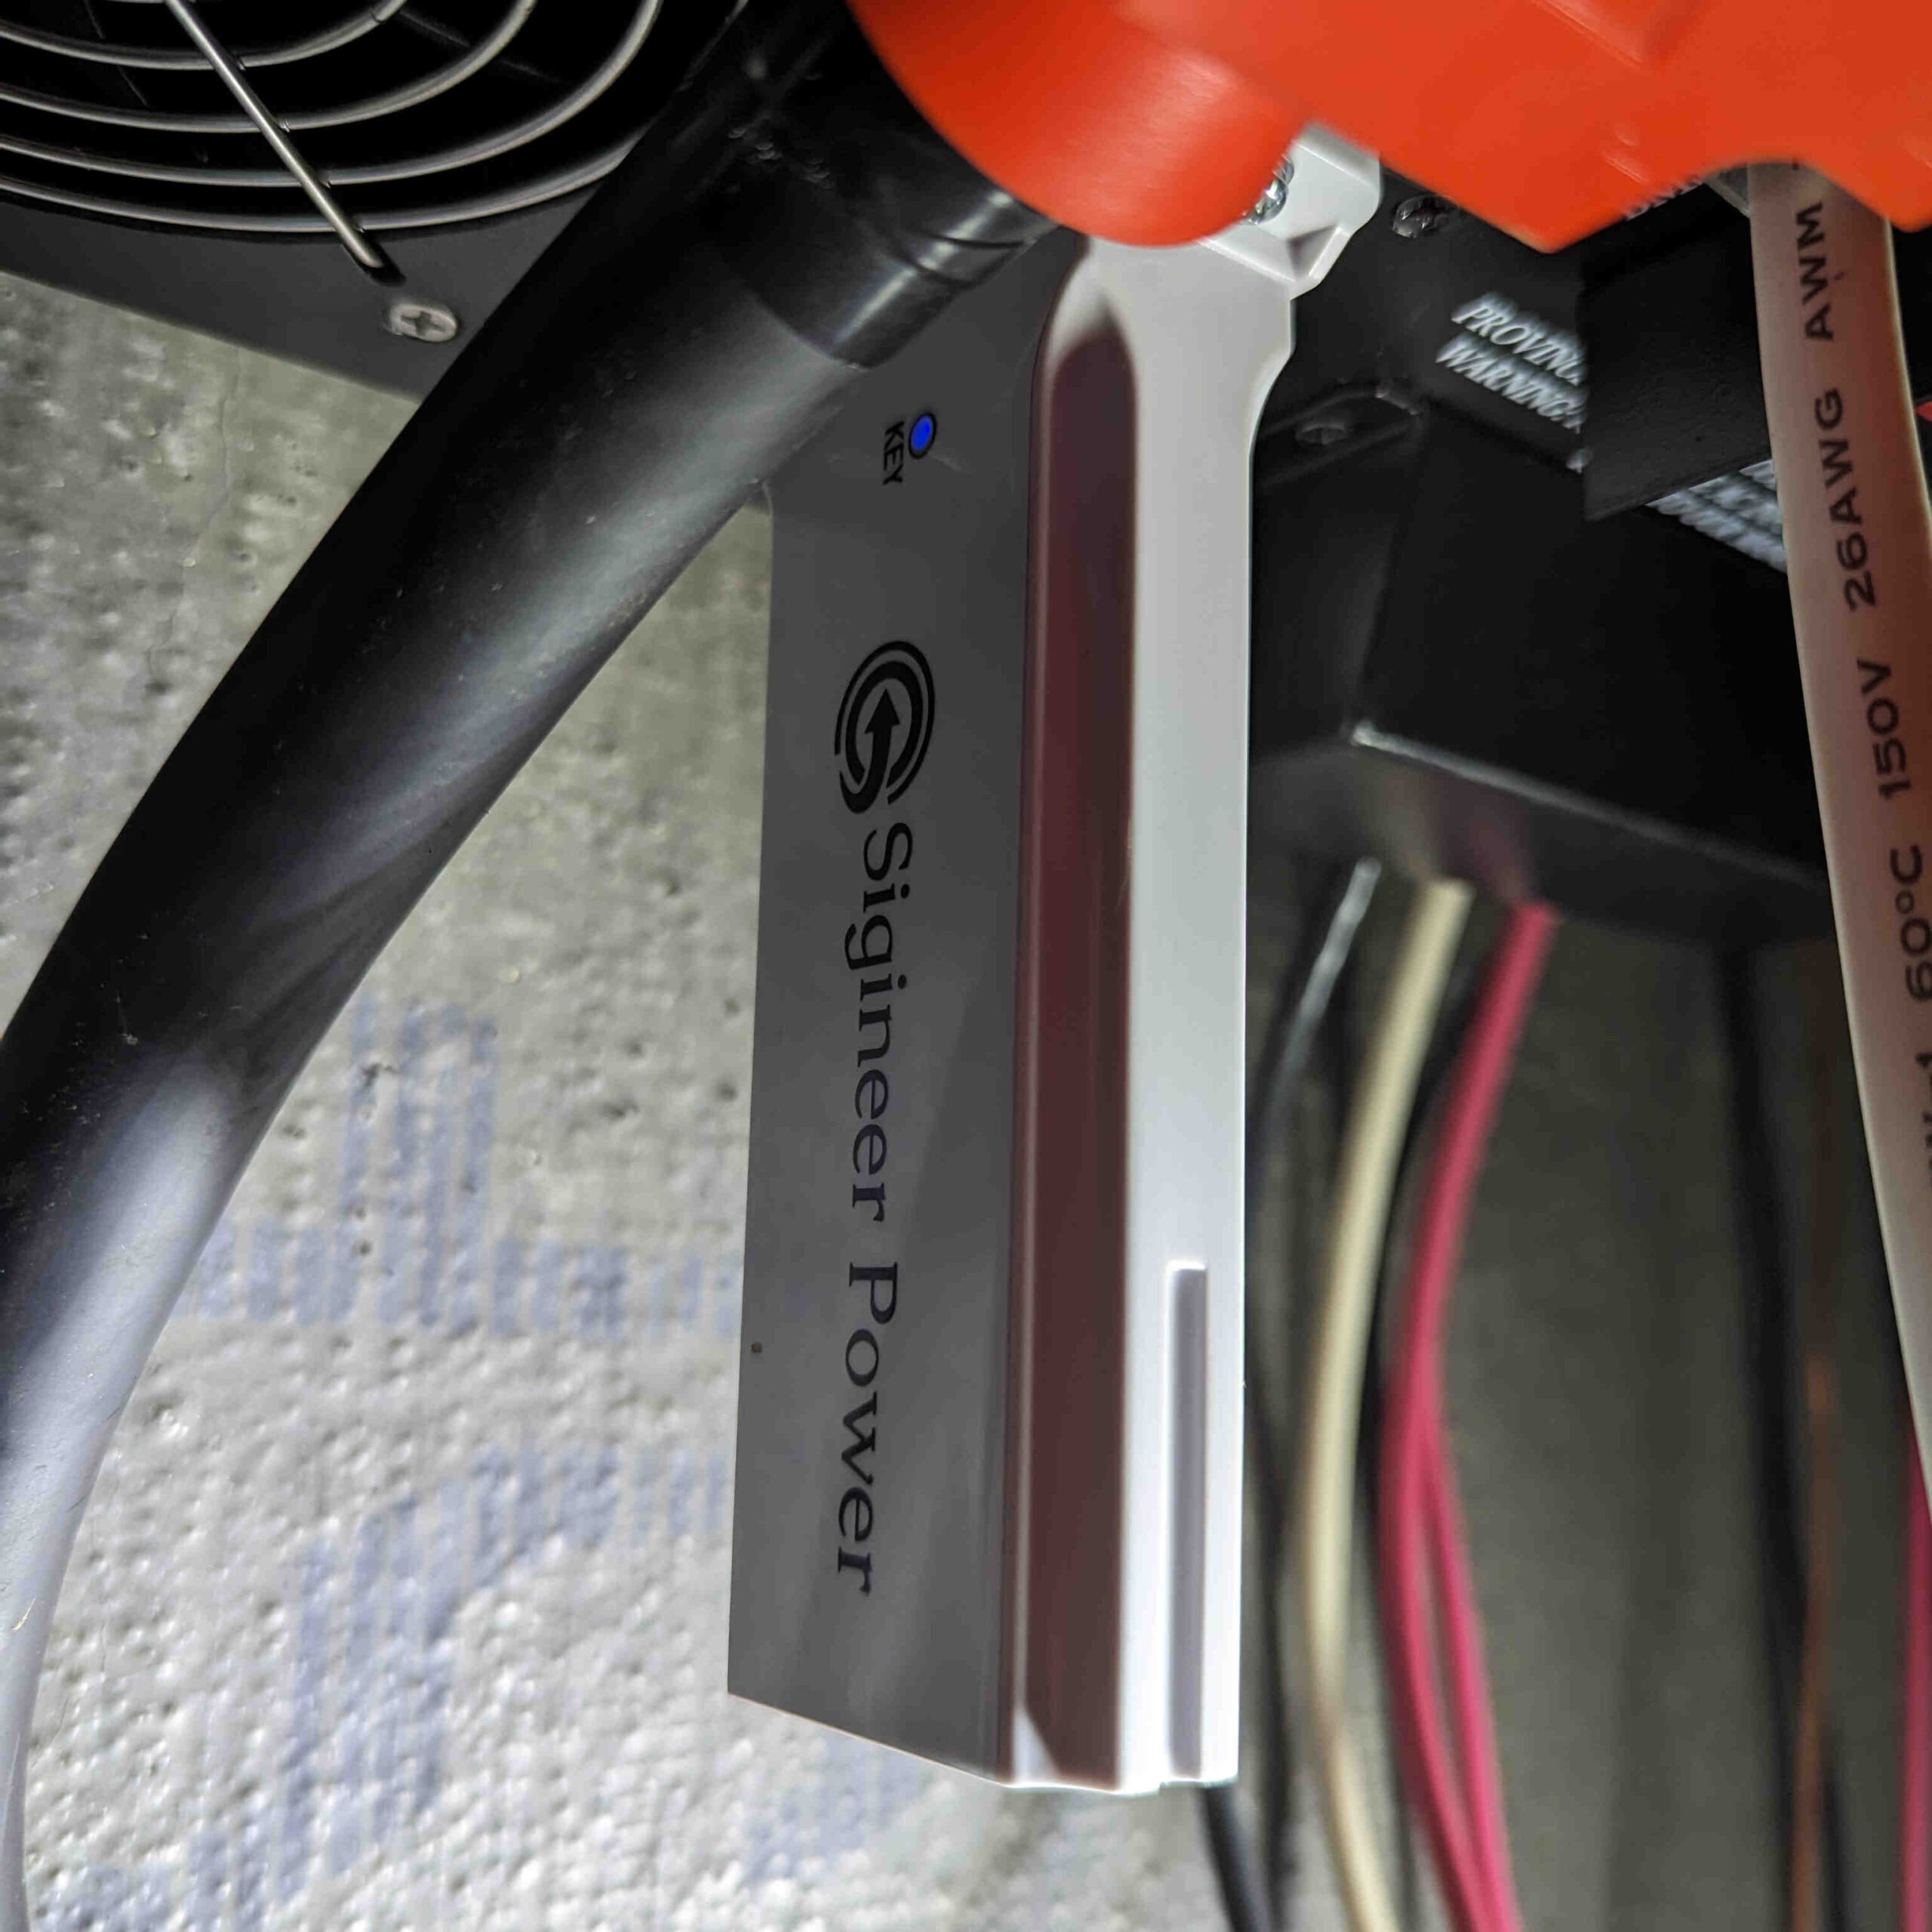
First you will need to plug in the wifi module into the inverter and look for the solid blue LED indicator. Then, using a small pin (such as a sim ejection tool), press the KEY button located in the hole with the LED and hold it for a few seconds. This will put the device into access point (AP) mode.
2) Connect to the AP
Once the light starts blinking green bring up your computer (or phone) and connect to the new wifi network. The SSID will be the serial number of the wifi dongle shown on the back of the dongle. The password for the network is “12345678” (without quotes). The your device will fail to connect because DHCP is not present on this device.
3) Set static IP
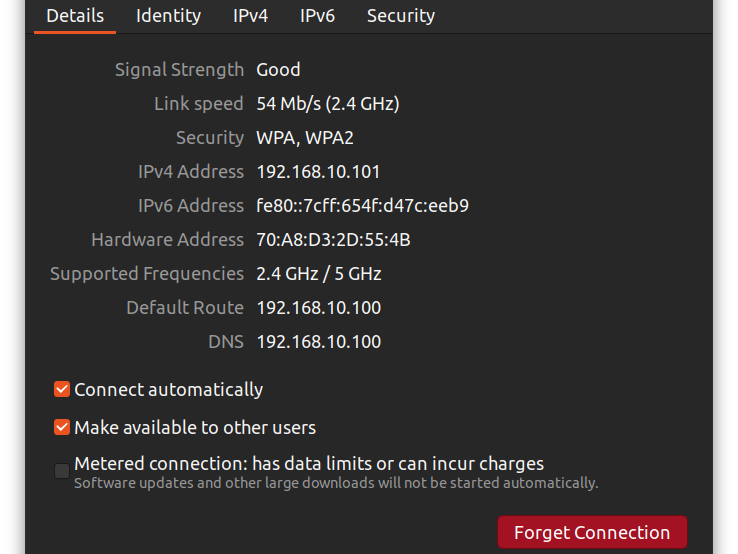
One the wifi network has been added to your device you will need to configure a static ip. This is because the cubewifi does not support DHCP on AP mode. Set a static IP of 192.168.10.101 with a subnet mask of 255.255.0.0. You may have to disconnect and reconnect to the wifi network for this change to take effect.
Note:
- the timeout for connecting is relatively short so you may need to press the KEY button multiple times to get connected.
- Only one device can be connect to the AP at a time
- This is for configuring the device only and does not provide inverter data.
4) Login and Configuration
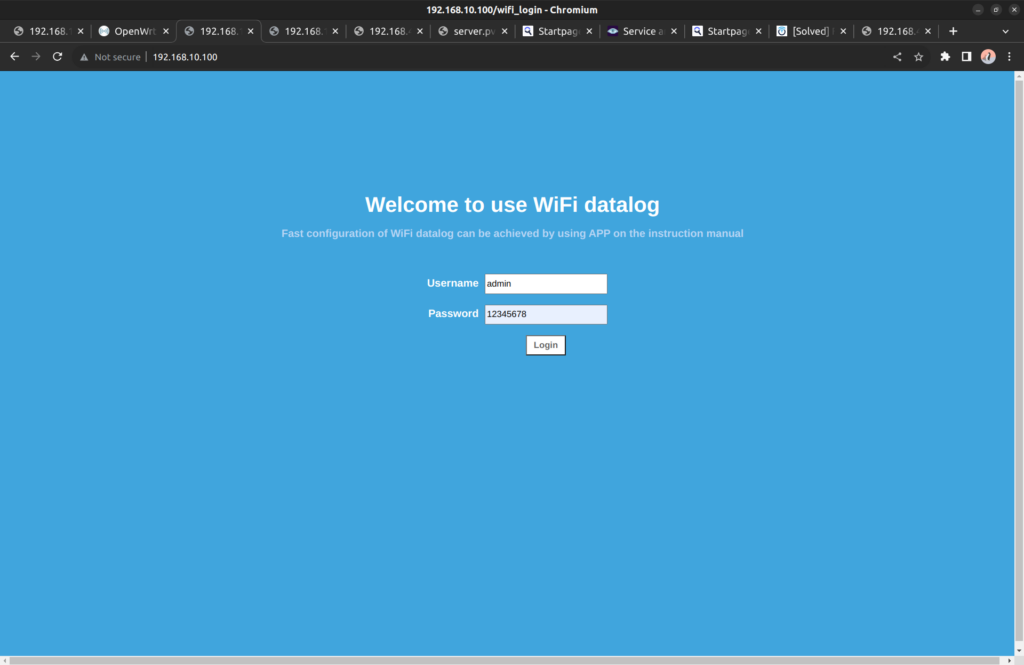
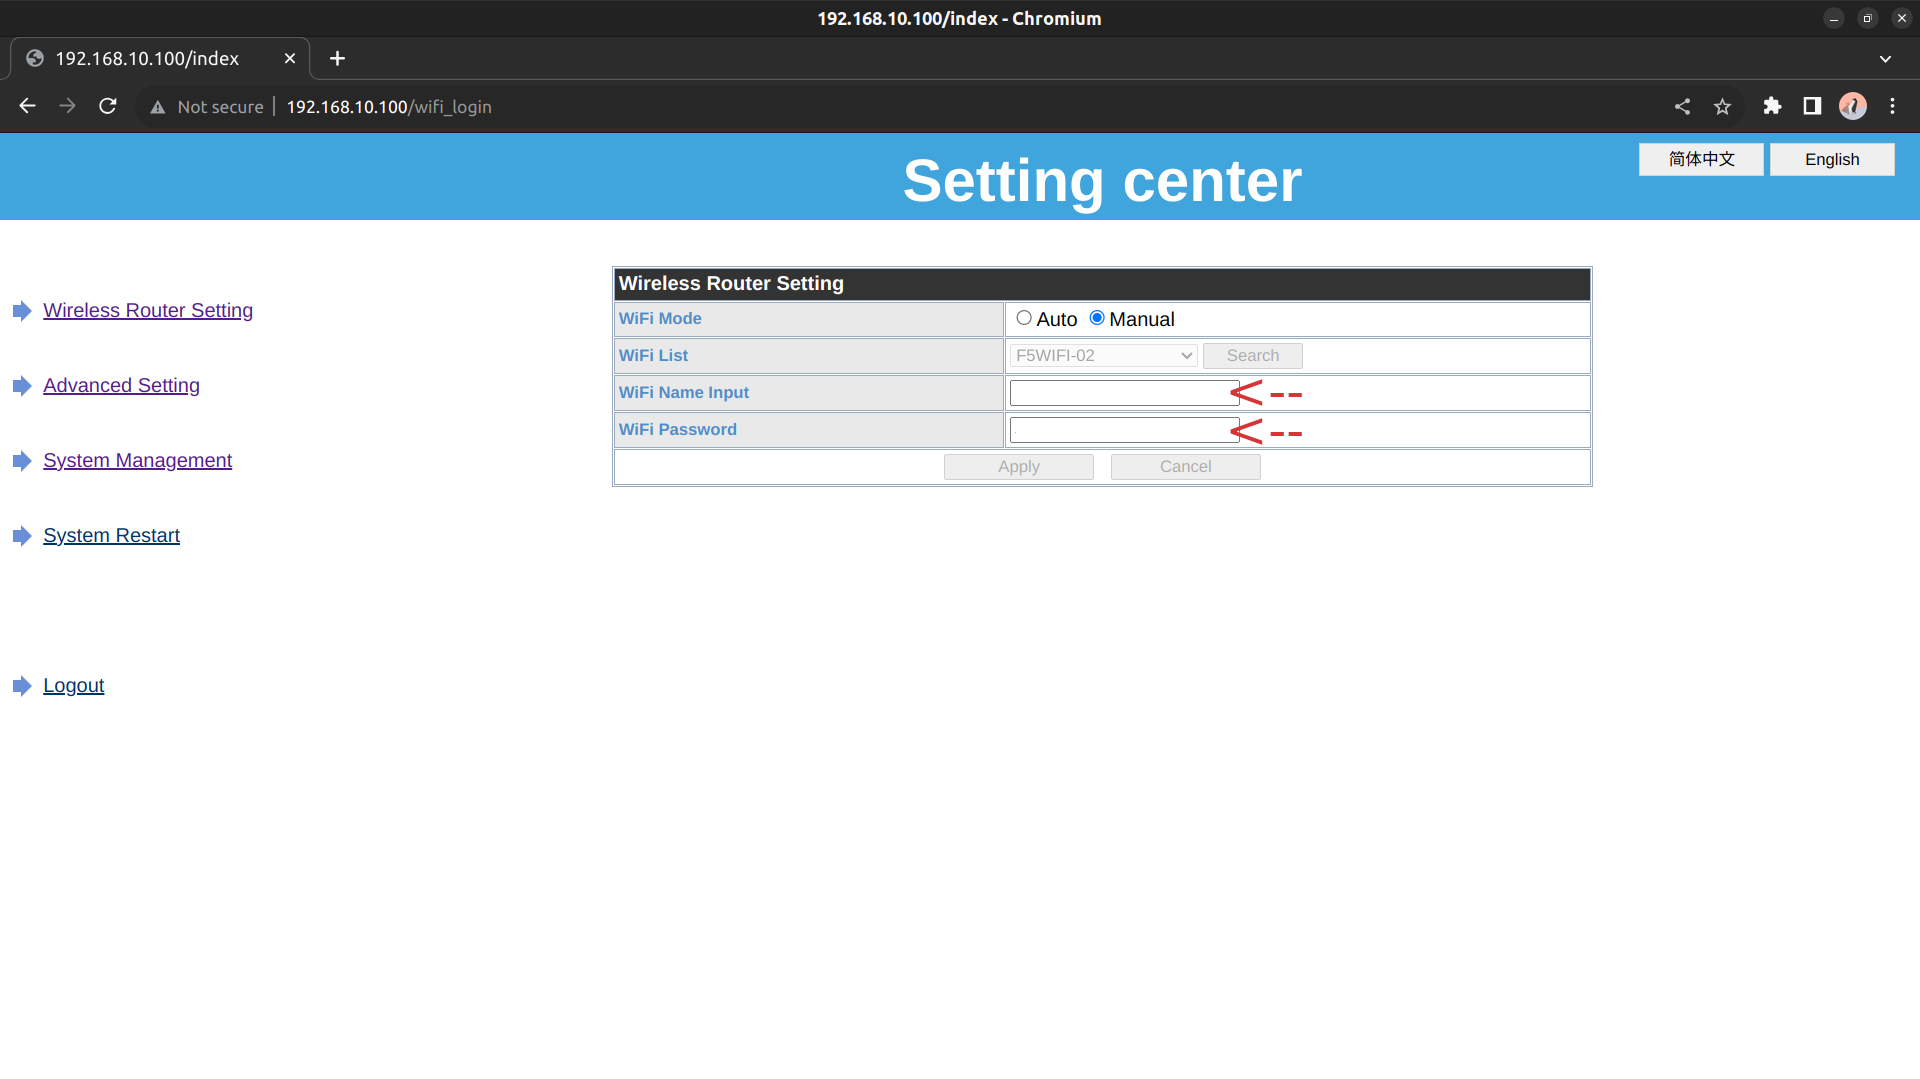
Once connect open your web browser and navigate to http://192.168.10.100/. You should see a page similar to the one below. The username and password is “admin” and “12345678” (without quotes), respectively.
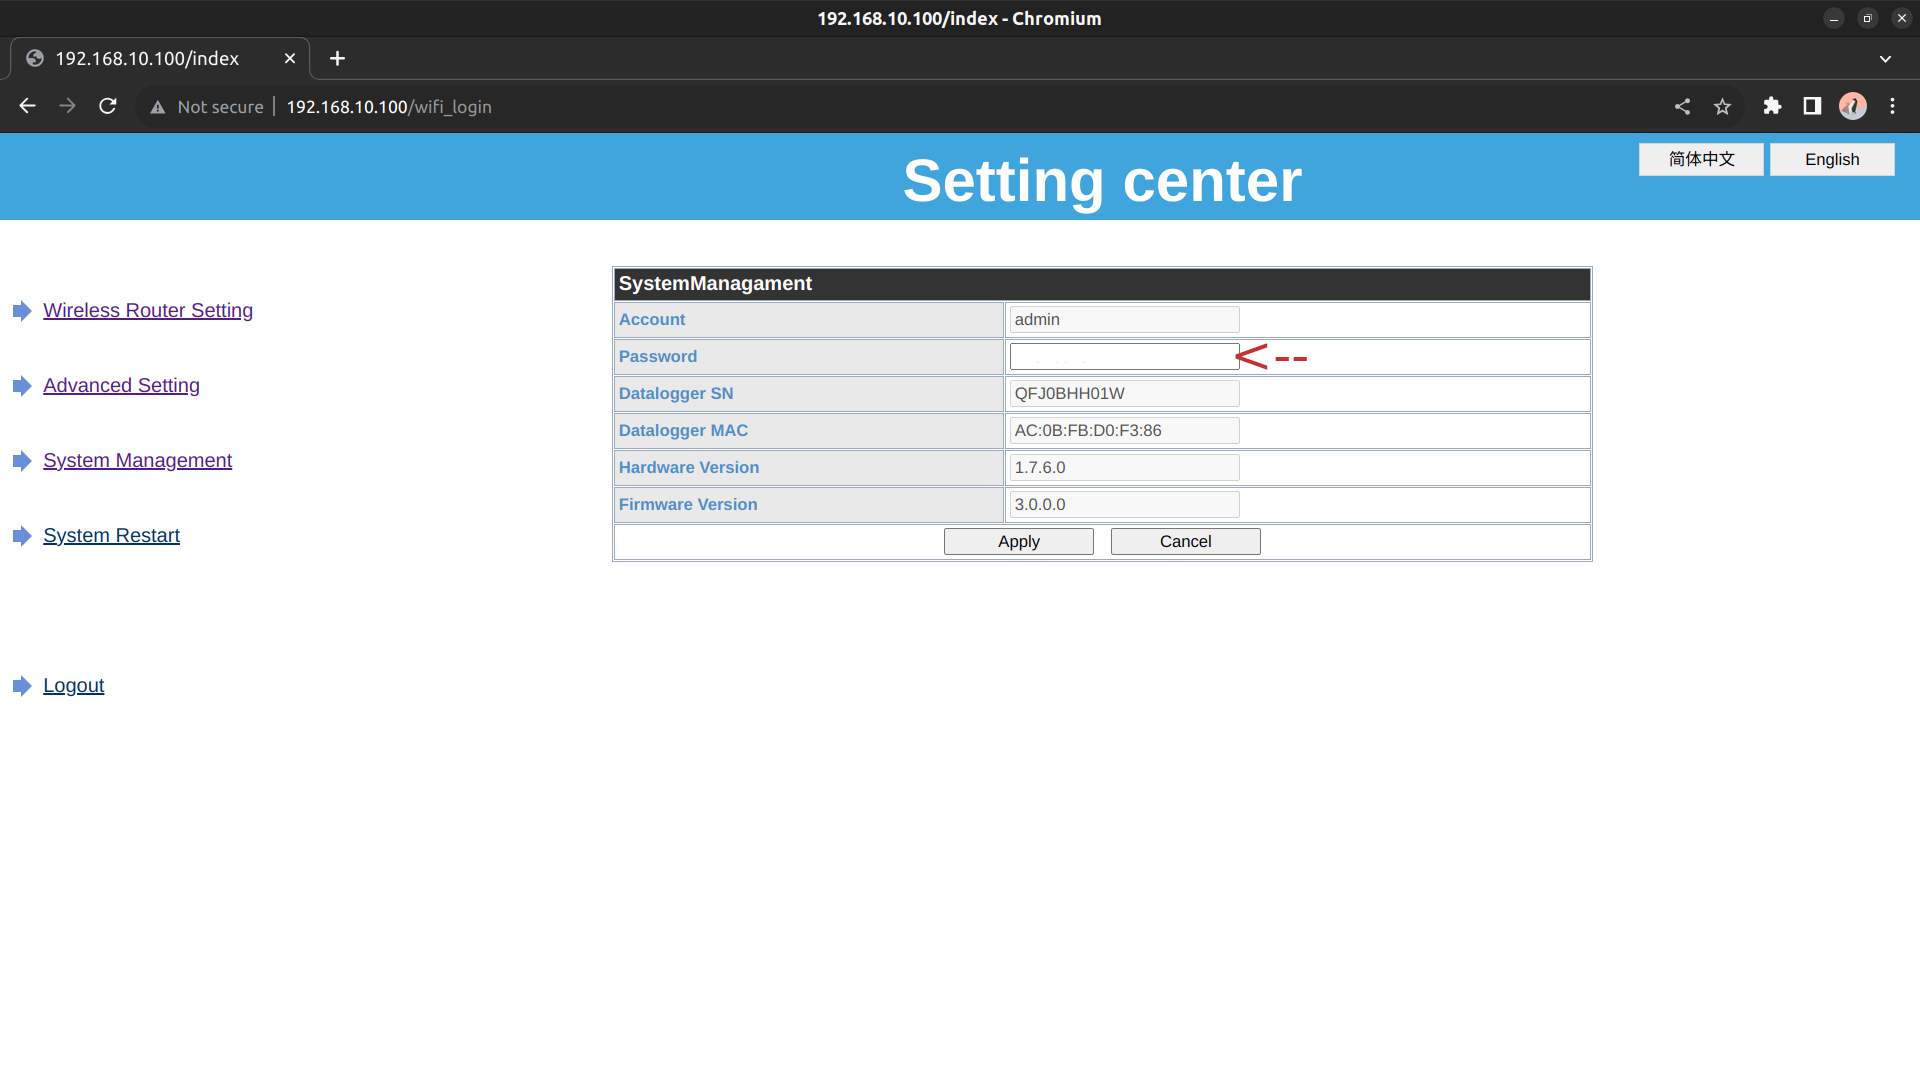
Once logged in you can configure the login credentials, IP address, and wifi network you want the device to connect to. You only get one shot at configuring this (unless you reset) so make sure to set all the configurations prior to restarting the device. When configured click apply but do not restart the device.
Next you will want to configure the WiFi Mode to manual and configure the “WiFi Name Input” and “WiFi Password” fields. This is the SSID and password of your wifi router. Click apply and move onto network configuration.
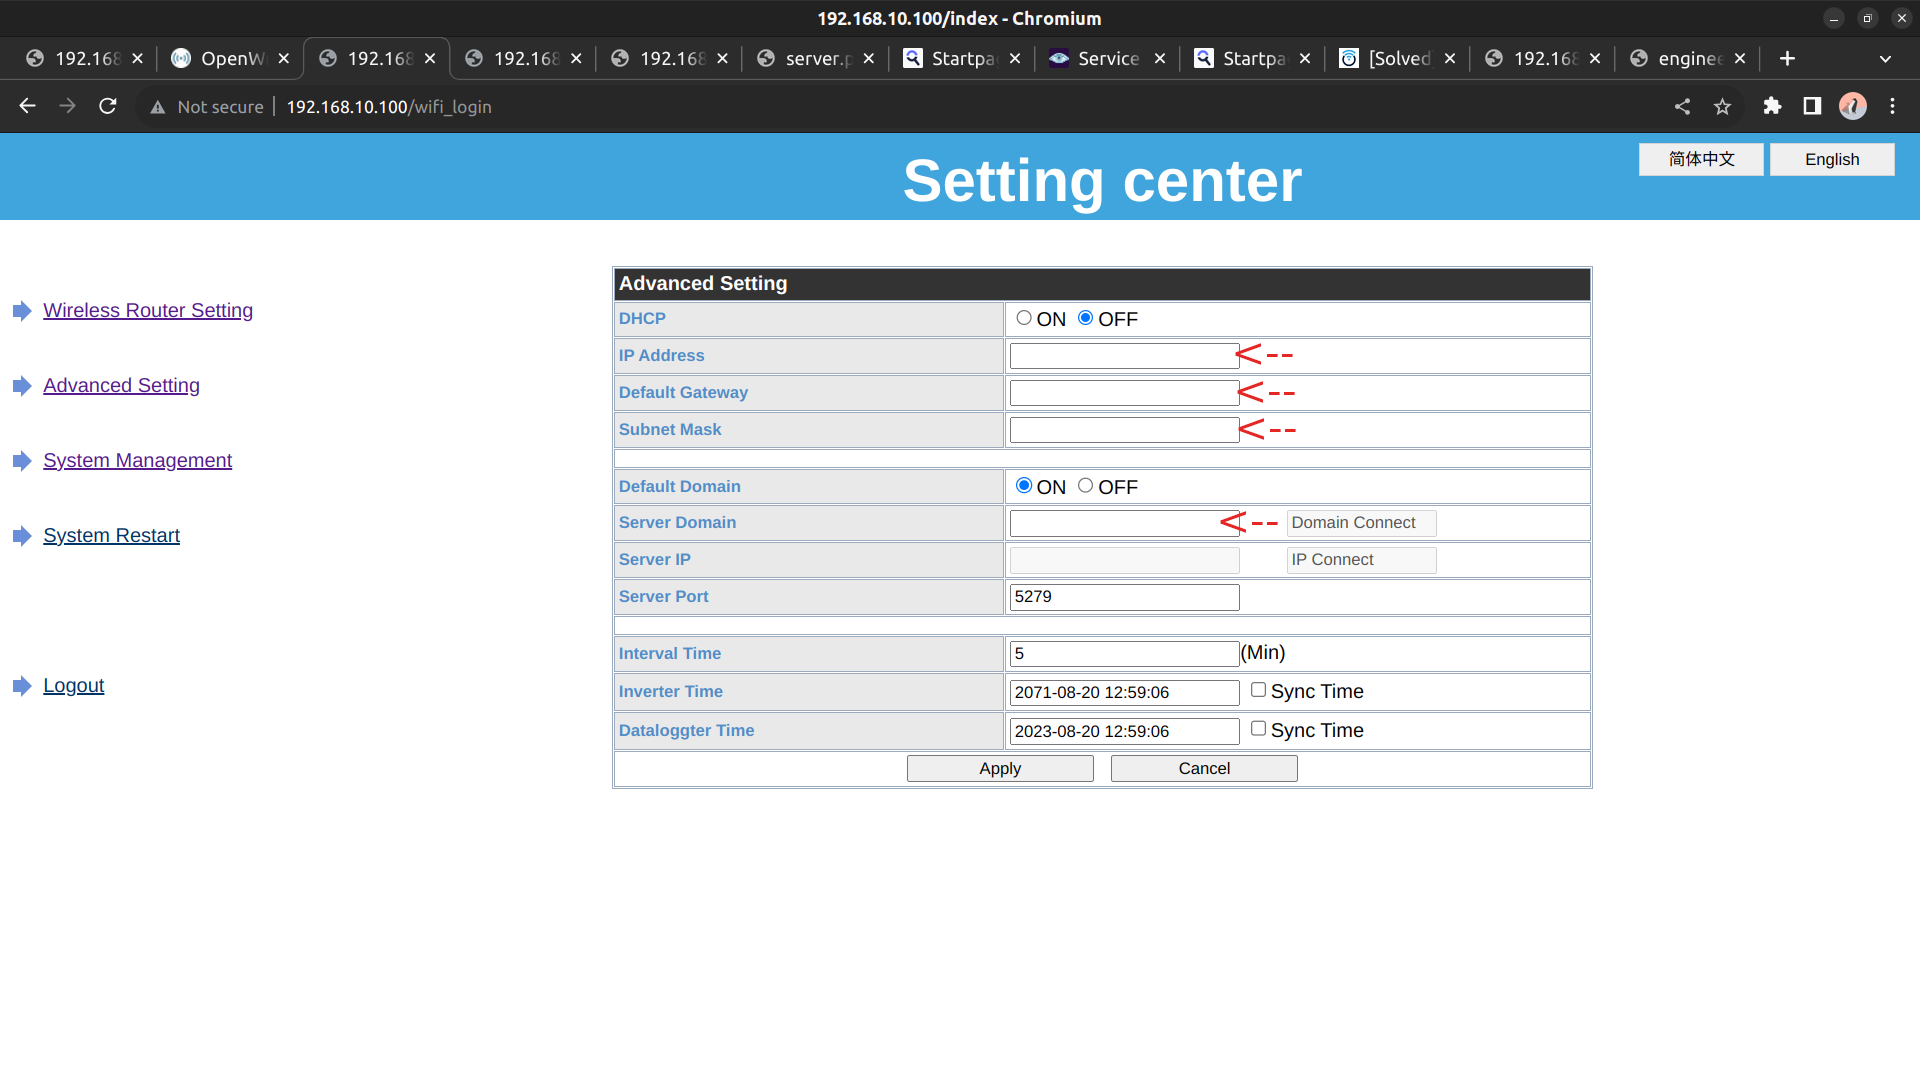
I recommend setting the ip, default gateway, and subnet mask manually and not relying on DHCP. Although using DHCP is an option it proved problematic during my testing. The “Server Domain” will be pre-populated with the PVbutler domain but this should be changed to a custom link if the intent is to collect this data locally. The domain used should be one that you control and can configure later as needed. Conveniently the data sent is not encrypted and software is already available to decode this information without the use of the PVbutler service. Once configured click apply.
5) Restart and Verify
Now that all the configurations have been set restart the device and ping the assigned ip to verify the device is connected.
Thats it! The CubeWifi Module should now be connected to your network and attempting to report to the url you configured! Next steps are to configure the server for decoding and logging this data.